Wood Floor Sanding: The Repair That Buys You Years
AmArtePlus Flooring & Remodeling
AmArtePlus Flooring & Remodeling Guide
Your hardwood floors show their age, but that doesn't mean they're done. Wood floor sanding is one of the most transformative repairs you can make, yet many homeowners mistake it for a cosmetic fix when it's actually solving structural problems underneath.
The real question isn't whether your floors look worn. It's whether sanding will actually solve what's causing that wear and extend your floor's life by a decade or more. Understanding the difference between cosmetic damage and problems that run deeper saves you thousands in future repairs.
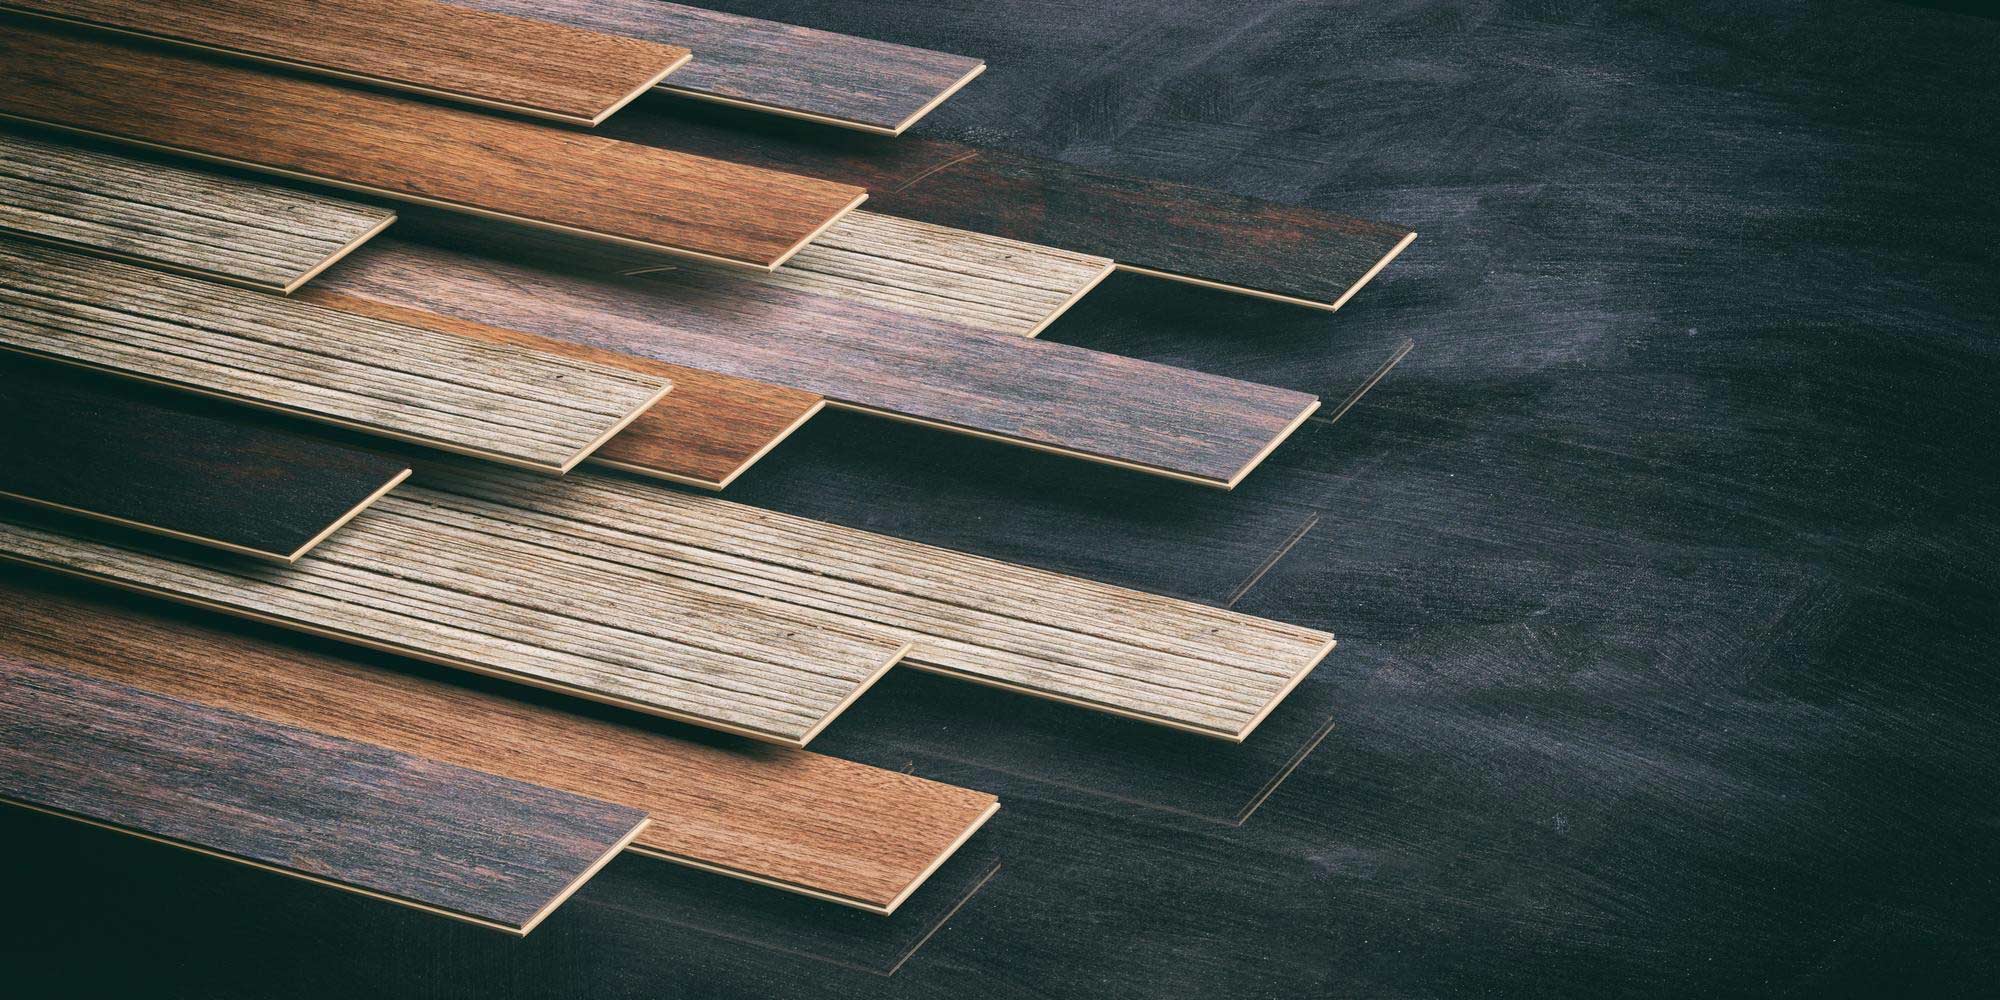
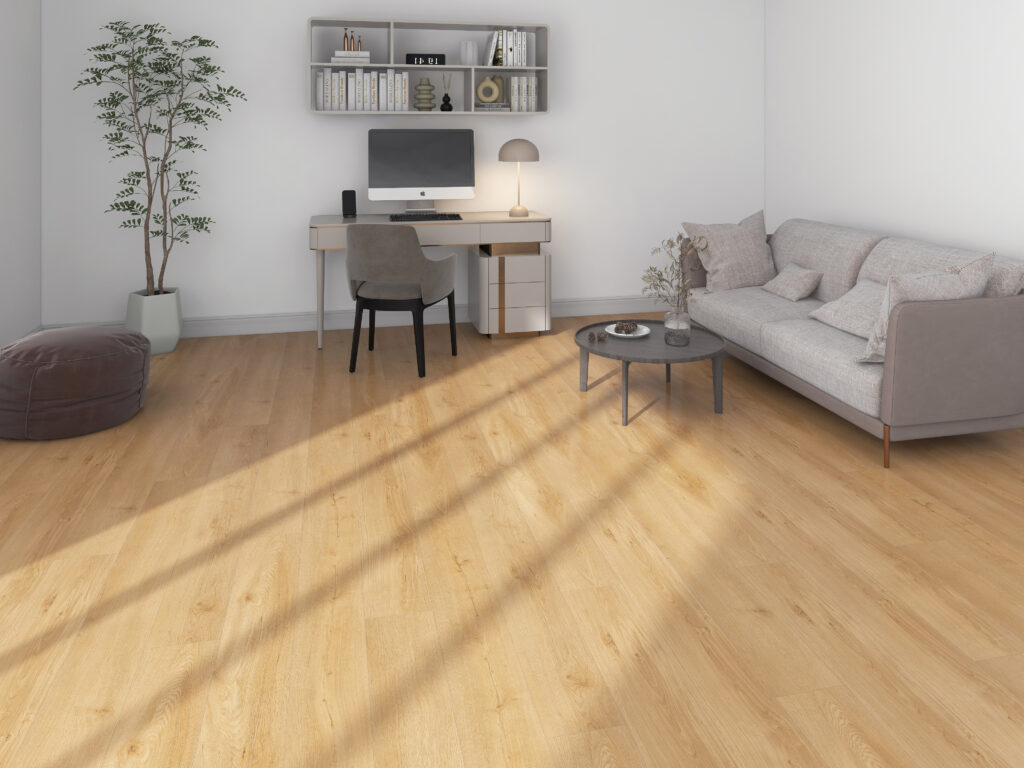
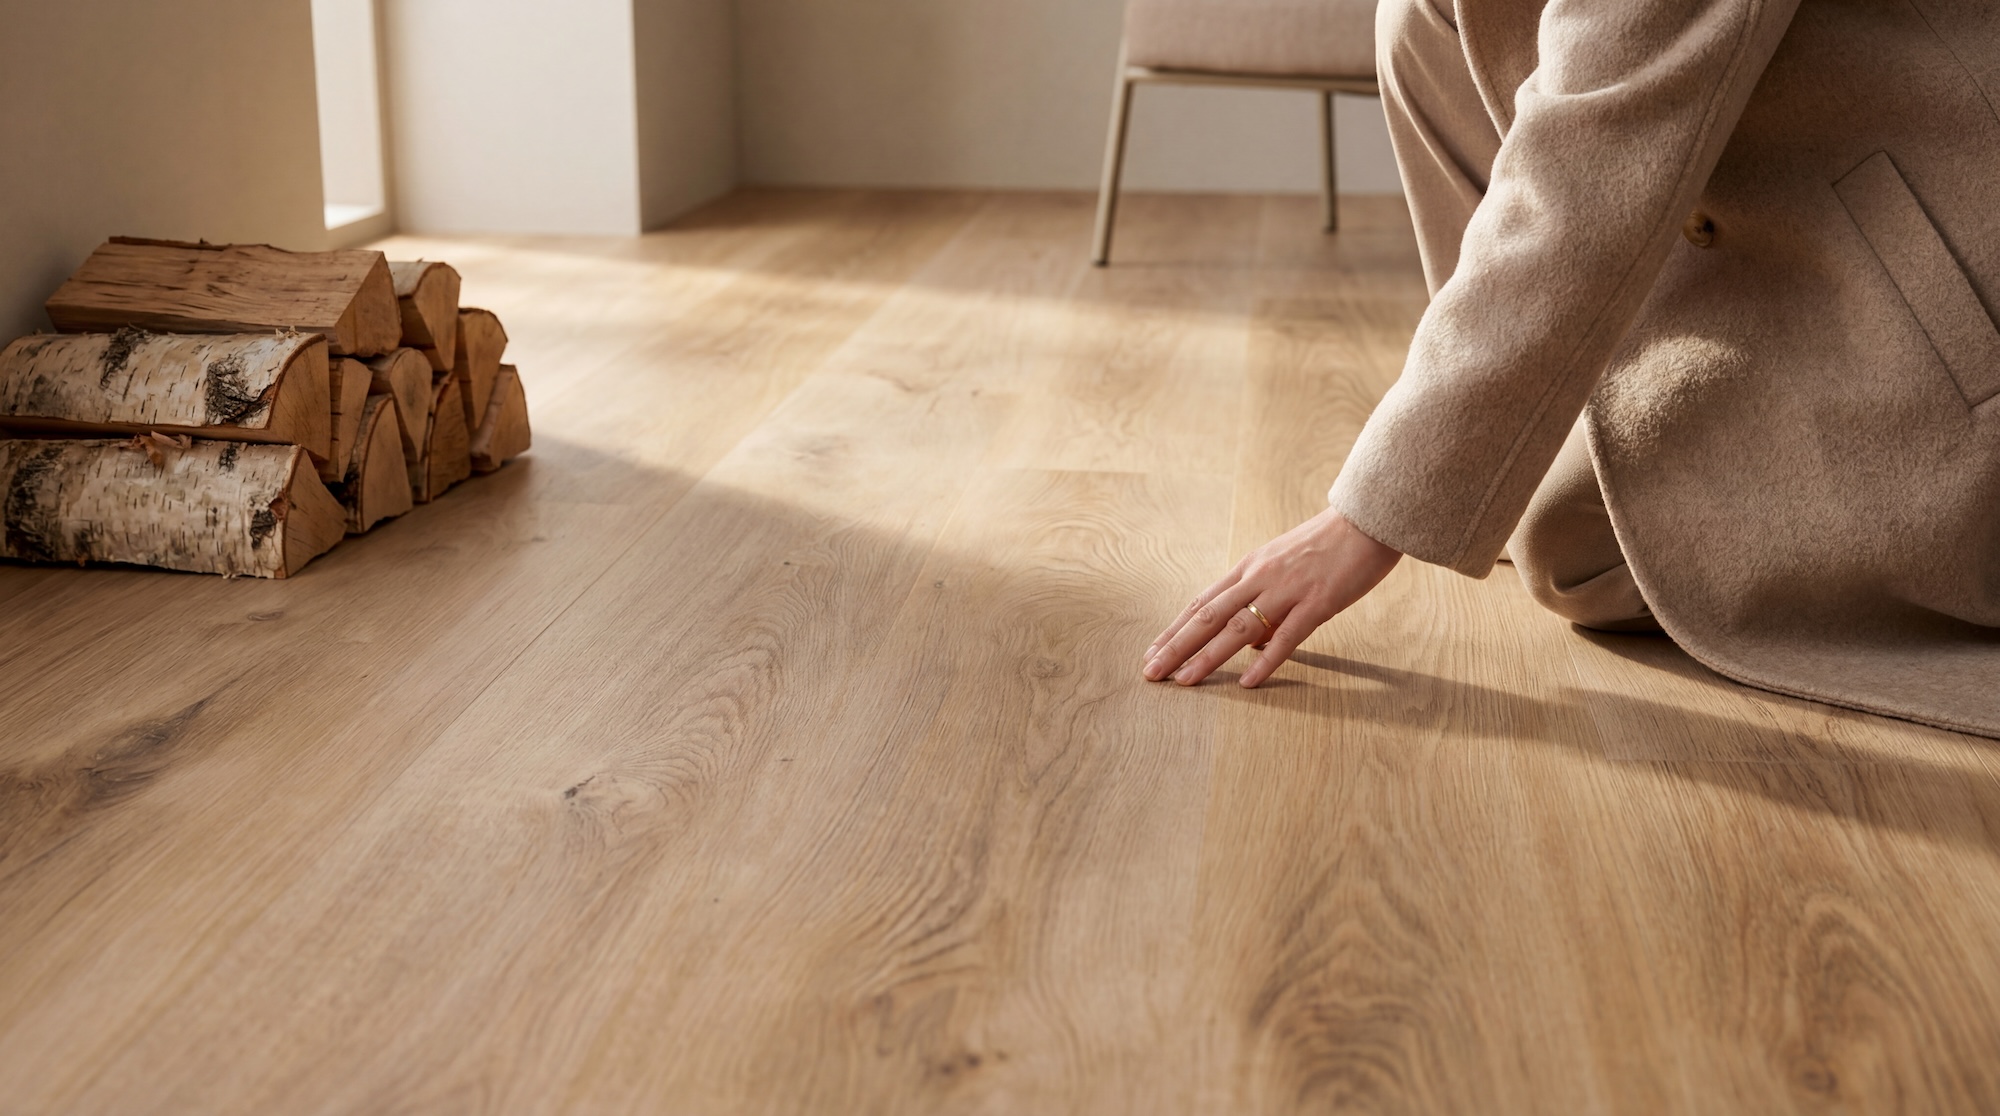
Featured floor: Harvest Oak

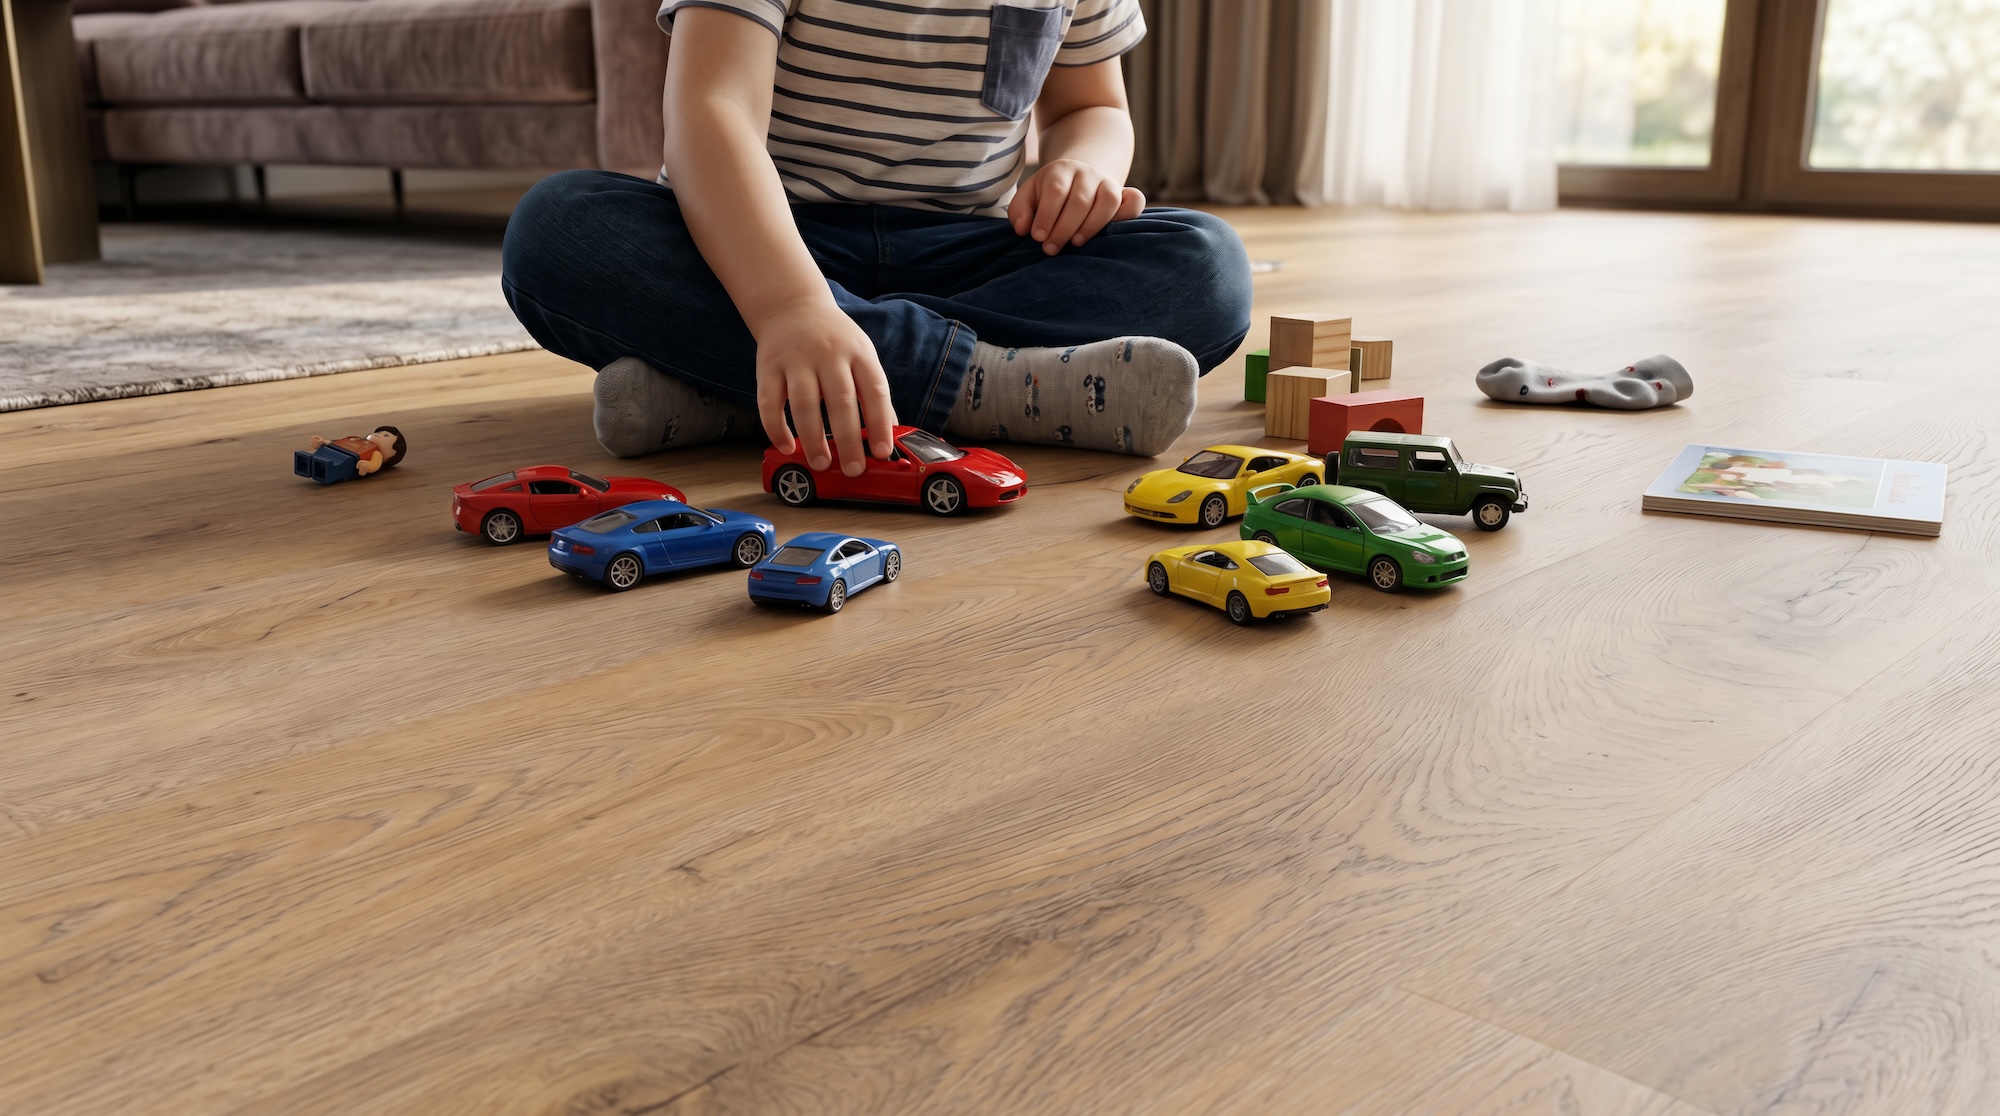
Harvest Oak flooring in Sacramento: golden harvest-oak tones with warm, autumnal grain. Water-resistant, AC4 wear layer, professional installation by AmArte Plus.
When Sanding Actually Solves the Problem
Surface scratches, dull finishes, and minor scuffs are exactly what sanding was designed to address. When your hardwood has lost its protective topcoat but the wood underneath remains sound, sanding removes that compromised layer and lets your installer apply fresh, durable finish that locks out moisture and foot traffic damage.
This is preventive medicine for your floors. A floor that gets sanded and refinished properly can handle another 10 to 15 years of normal family living. Without sanding, that same floor deteriorates faster because unprotected wood absorbs spills, traps dust in micro-scratches, and develops cupping or warping that becomes expensive to repair.
Surface Damage Only
Scratches, scuffs, and dull finish that haven't penetrated past the topcoat. Sanding removes the damaged layer and reveals pristine wood ready for new finish.
Minor Dents and Dings
Shallow indentations that haven't cracked the wood fibers or caused structural separation. Sanding smooths these out and makes them disappear under new finish.
Uneven Finish or Patchy Wear
High-traffic areas where finish has worn through while other spots remain intact. Sanding creates uniform surface so new finish bonds evenly across the entire floor.
The Pre-Sanding Inspection Checklist
- Check for cupping or crowning by running your hand across the surface against the grain
- Press on the wood to identify soft spots or areas that feel spongy
- Look for gaps between boards that are wider than normal or gaps that weren't there before
- Inspect the perimeter where the floor meets the wall for separation or buckling
- Feel around the subfloor edges in accessible areas like closets or beneath vents
- Document water stains, discoloration, or areas where finish is bubbling
- Check humidity levels in the home with a moisture meter to rule out ongoing water issues
- Examine high-traffic areas to determine if damage is truly surface-level
- Look underneath return air vents to see if moisture accumulation is happening
- Test finish adhesion by gently scraping a small inconspicuous area with a coin
Note: A $400 inspection from a flooring expert prevents a $4,000 sanding job that solves nothing. Never assume your floors are good candidates for sanding without professional assessment.
Get Your Floor Evaluated Today
Sacramento homeowners trust our team to diagnose exactly what your hardwood needs. We'll tell you whether sanding makes sense or whether your floors need a different solution.
(279) 800-4666Questions About Wood Floor Sanding

Hi, we’re AmArtePlus Flooring & Remodeling
Hi, we are AmArtePlus. A growing family-owned construction business focused on quality, trust, and clean results. Contact us today. We’ll visit your project, go over the best options, and provide a clear, honest estimate.
Explore All Services
Browse Our Floors